
Core Tools and First Steps for Building Roads in Saro's Road Blocks
Road building in Saro's Road Blocks starts with three tools, and most players craft the wrong one first. The  Brush, the
 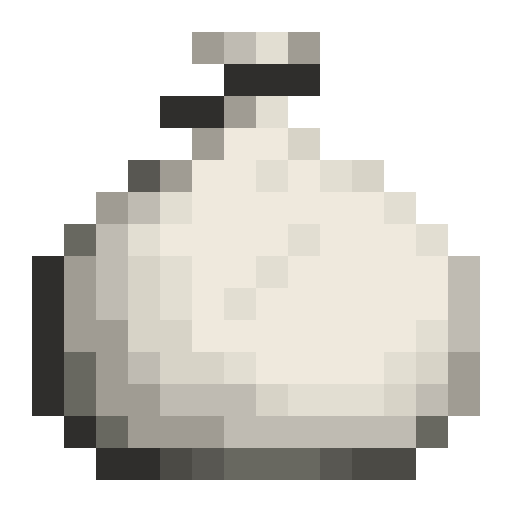 Filling Tool, and the
 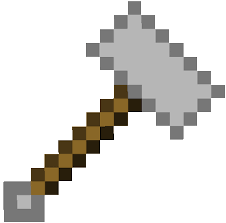 Hammer each handle a different stage of laying a road, and knowing which one you actually need saves a trip back to the crafting table.
The three core tools
The Brush is the finishing tool. Its recipe is shaped and calls for  White Wool x2,
  White Dye, and
  Stick x2. Wool is the awkward part early on — you need sheep, or a source of string to turn into wool, before you can make one at all. Plan for that before you start clearing ground.
The Filling Tool is the patching tool. It takes  Leather x4 plus
  Asphalt, which means you need both a mob drop and a road material in hand before it exists. Four leather is not trivial in the first hour of a world, so this is usually the second or third tool a player builds rather than the first.
The Hammer is the cheapest of the three and the one to make first.  Iron Ingot x3 and
  Oak Planks x2 is a recipe most players can complete within minutes of finding iron, and it costs no wool, no leather, and no Asphalt. If you are standing at a crafting table wondering where to begin, build the Hammer.
Getting Asphalt before you need it
Asphalt does not come from a crafting table. It comes from stonecutting  Blackstone, which puts it behind a trip to the Nether or a lucky find in a bastion or ruined portal chest. That single fact reshapes the whole early game for a road builder: you cannot make a Filling Tool until you have Asphalt, and you cannot get Asphalt without Blackstone.
Because of this, the practical order is to set up your Hammer and Brush first, gather Blackstone when you are ready for a Nether trip, and only then cut Asphalt and assemble the Filling Tool. Trying to rush the Filling Tool before you have a stonecutter and a Blackstone supply just stalls the project.
Guardrails and street lighting
Once the surface work is underway, the roadside furniture comes from  Light Gray Concrete. Guardrails are built from it in several shapes:
 Guardrail — Light Gray Concrete x3
 Guardrail Corner — Light Gray Concrete x2 plus Iron Ingot, or converted from another Guardrail Corner
 Guardrail End — Light Gray Concrete x3 plus Iron Ingot, or converted from another Guardrail End
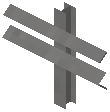 Guardrail Pole — Light Gray Concrete x3 plus Iron Ingot
Note that the corner and end pieces can be produced two ways: from raw materials, or by converting an existing piece of the same type. That second route matters when you have already placed a run of guardrail and need to change its shape without starting over.
Street lighting follows the same concrete-plus-iron pattern:
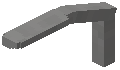 Street Light —
 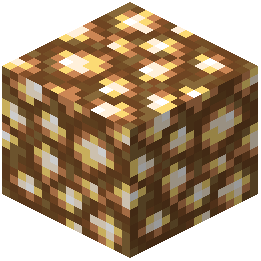 Glowstone plus Light Gray Concrete x2
 Street Light Pole — Light Gray Concrete x2 plus Iron Ingot
The Street Light is the only recipe in this set that needs Glowstone, so it is the one to plan a Nether trip around alongside your Blackstone run. Bring back both materials in the same trip and you will not need a second one.
A sensible first session
- Mine iron and chop oak until you can craft the Hammer.
- Collect White Wool and White Dye for the Brush — sheep first, then dye.
- Stockpile Light Gray Concrete; you will need it for every guardrail and light piece.
- Make your Nether trip for Blackstone and Glowstone in one go.
- Stonecut the Blackstone into Asphalt, then combine it with Leather x4 for the Filling Tool.
- Lay the road, then dress it with Guardrail, Guardrail Pole, Guardrail Corner, and Guardrail End pieces.
- Finish with Street Light and Street Light Pole placements.
The mistake most players make is treating the Filling Tool as the starting tool because it sounds like the road-laying one. It is not the cheapest and it is not the first — the Hammer is. Build that, get your concrete and your Nether materials in order, and the rest of the road comes together without a second supply run.
Covers the mod’s in-game guide topics: Crafting Brush Filling Tool Hammer Asphalt